Home > Guides > Drip Coffee Brewing Guide: Perfect Measurements, Water Temperature & Step-by-Step Instructions
Drip Coffee Brewing Guide: Perfect Measurements, Water Temperature & Step-by-Step Instructions
Drip coffee is a beloved morning ritual for millions, offering a balance of simplicity and rich flavor. Whether you’re new to coffee or looking to refine your technique, this guide will walk you through the process of brewing a smooth, aromatic cup using a drip coffee maker.
Let’s dive into the essentials, from equipment to brewing tips, and even a YouTube video to visualize the steps!
Step 1: Gather Your Tools
Every great cup starts with the right gear. You’ll need:
- A drip coffee maker (automatic or manual pour-over cone).
- Fresh coffee beans opt for whole beans and grind them just before brewing for maximum flavor.
- A burr grinder for consistent grounds (aim for a texture resembling coarse sand).
- Paper filters (bleached or unbleached, depending on your preference).
- Filtered water to avoid impurities affecting taste.
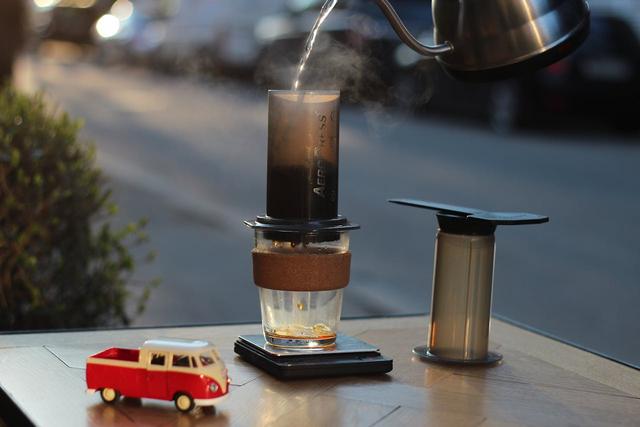
- A kettle for heating water (gooseneck kettles offer better control for pour-over methods).
- A digital scale or measuring spoon for precision.
Step 2: Prepare the Water
Start by heating water to 195–205°F (90–96°C). If you don’t have a thermometer, bring water to a boil and let it sit for 30 seconds to cool slightly.
Filtered water is key here: tap water with high mineral content can leave your coffee tasting metallic or flat.
Step 3: Grind the Beans
Measure your coffee beans using a 1:16 ratio (1 gram of coffee per 16 grams of water). For a standard 12-ounce cup, this translates to roughly 2 tablespoons of grounds.
Grind the beans to a medium-coarse consistency, similar to sea salt. Too fine, and your coffee may taste bitter; too coarse, and it’ll be weak.
Step 4: Prep the Filter and Brewer
Place a paper filter in your drip cone or machine basket.
Rinse the filter with hot water to eliminate any papery taste and preheat your brewer.
Discard the rinse water before adding grounds.
Step 5: Add Coffee and Bloom
Add your freshly ground coffee to the filter, gently shaking it to create a level bed.
Now, pour just enough hot water to saturate the grounds (about twice the weight of the coffee).
Let this “bloom” for 20–30 seconds. You’ll see the coffee expand and release bubbles as carbon dioxide escapes. This step ensures even extraction and richer flavor.
Step 6: Brew Slowly and Steadily
After the bloom, slowly pour the remaining water in a spiral motion, starting from the center and moving outward. Avoid pouring directly onto the filter to prevent uneven extraction.
For automatic machines, simply press start and let the machine work its magic. The entire brewing process should take 4–6 minutes.
Step 7: Serve Immediately
Once brewing is complete, remove the filter and discard the grounds.
Pour your coffee into a preheated mug to maintain temperature.
Drip coffee is best enjoyed fresh, as sitting on a hot plate can lead to bitterness.
Pro Tips for Elevating Your Brew
Experiment with ratios: Adjust the coffee-to-water ratio to suit your taste. Stronger coffee? Try 1:15. Lighter? Go for 1:17.
Keep it clean: Regularly descale your machine with a vinegar-water solution to prevent mineral buildup.
Store beans properly: Use an airtight container away from light and heat to preserve freshness.
Final Thoughts
Brewing drip coffee is both an art and a science – a little patience goes a long way!
With fresh beans, precise measurements (use The Coffee Calculator for this!), and a clean setup, you’ll craft a cup that’s smooth, balanced, and downright satisfying.
Now, go forth and caffeinate confidently! ☕
Home > Guides > Drip Coffee Brewing Guide: Perfect Measurements, Water Temperature & Step-by-Step Instructions


